Block Printing: The Ultimate Guide
Block printing is the best thing since sliced bread!…but maybe I’m a little biased ;)
If you’ve ever dreamed about designing your own fabric to turn into a home decor item, piece of art, clothing (or a million other things!) then you’ll love learning how to block print too.
Better yet, you’re definitely in the right place because I’ve been block printing professionally since 2009, and I’ve already messed up so many times you can learn from all my mistakes!
Block printing is great because just about anyone can do it. And block printing at home is easy and ideal.
My favorite part about the block printing medium is that it really allows for you to make a lot of mistakes and still easily hide them (hooray!!) which is a big reason why I was drawn to the process when I first started experimenting with it.
So no need to fear if you’re worried about your art skills, block printing is actually perfect you!
Of course there’s a lot more to love about it than just that - the projects you can create with it are just seriously endless.
I’ve had customers buy my block printed fabric and sew it into quilts, clothing, sewing machine covers, pillow covers, drapery, and even upholstery.
It’s extremely versatile and there are so many ways you can explore with it. All you need to do is understand a few basic skills and be able to come up with a great design to print.
Below you’ll learn everything you need to know to get started block printing at home today!

What is block printing?
Block printing is an age-old printmaking practice that stems from many countries including China, Japan, Korea, India and parts of Europe.
Printing can take many forms and the blocks, tools, and inks might look a little (or a LOT) different based off of the end product and the area it originated from, but the overall process remains the same - a pattern, text, or design is created, a block is carved, and then the design is printed onto a surface.
In general, if you’re block printing at home, the main tools that you’ll need to get started include:
A carving block
Block printing ink
Carving tools
Something to print on (fabric or paper)
I’ll get into a lot more details about each one of these tools in a bit, but for now just keep in mind that you’ll a few simple items to get started!
WHY block printing?
I mean, I already told you it’s the greatest, but if you need more convincing then I’ll give you even more reasons!
Besides creating a gorgeous textured finish that you don’t get with most other painting mediums, it’s also easy to impress your friends with a super simple project!
They’ll think you’re a complete pro and you might even believe them…check out the 7 reasons you should start block printing here.
Block printing ideas
If you’re struggling to come up with a project you want to print, no worries. It can be a little overwhelming if you are one of those (read: all of us) creatives that has way too many ideas in a single day!
Fortunately I have an inspiring list of block printing ideas you can check out right here. I originally sent these ideas out to my email list and people absolutely loved them!
Don’t put too much pressure on yourself to come up with a design that is super complex and detailed for your first attempt. Block printing really is one of those mediums that shines in its simplicity.
A big reason for this is because block printing creates a beautiful textured design as it’s being printed. Simple designs and patterns tend to highlight this effect a lot more which is why I encourage all my students to do a little less instead of more.
On the other hand, I am a HUGE sucker for layering prints, so maybe just do whatever the heck you want ;).
Design a block print
I know 75% of you reading this right now are silently freaking out because you still aren’t sure if you have the art skills to come up with an amazing block printing project.
If this is you, rest assured you are FAR from alone. I’ve taught hundreds (maybe more like thousands at this point!) of students how to block print throughout the years, and so many self proclaimed “non-artists” came in and within the time span of less than 3 hours, created an incredible design and block print.
So don’t worry about a thing because I already know every sticking point you might run into when it comes to printing especially when it comes to the design part which can cause so much intimidation.
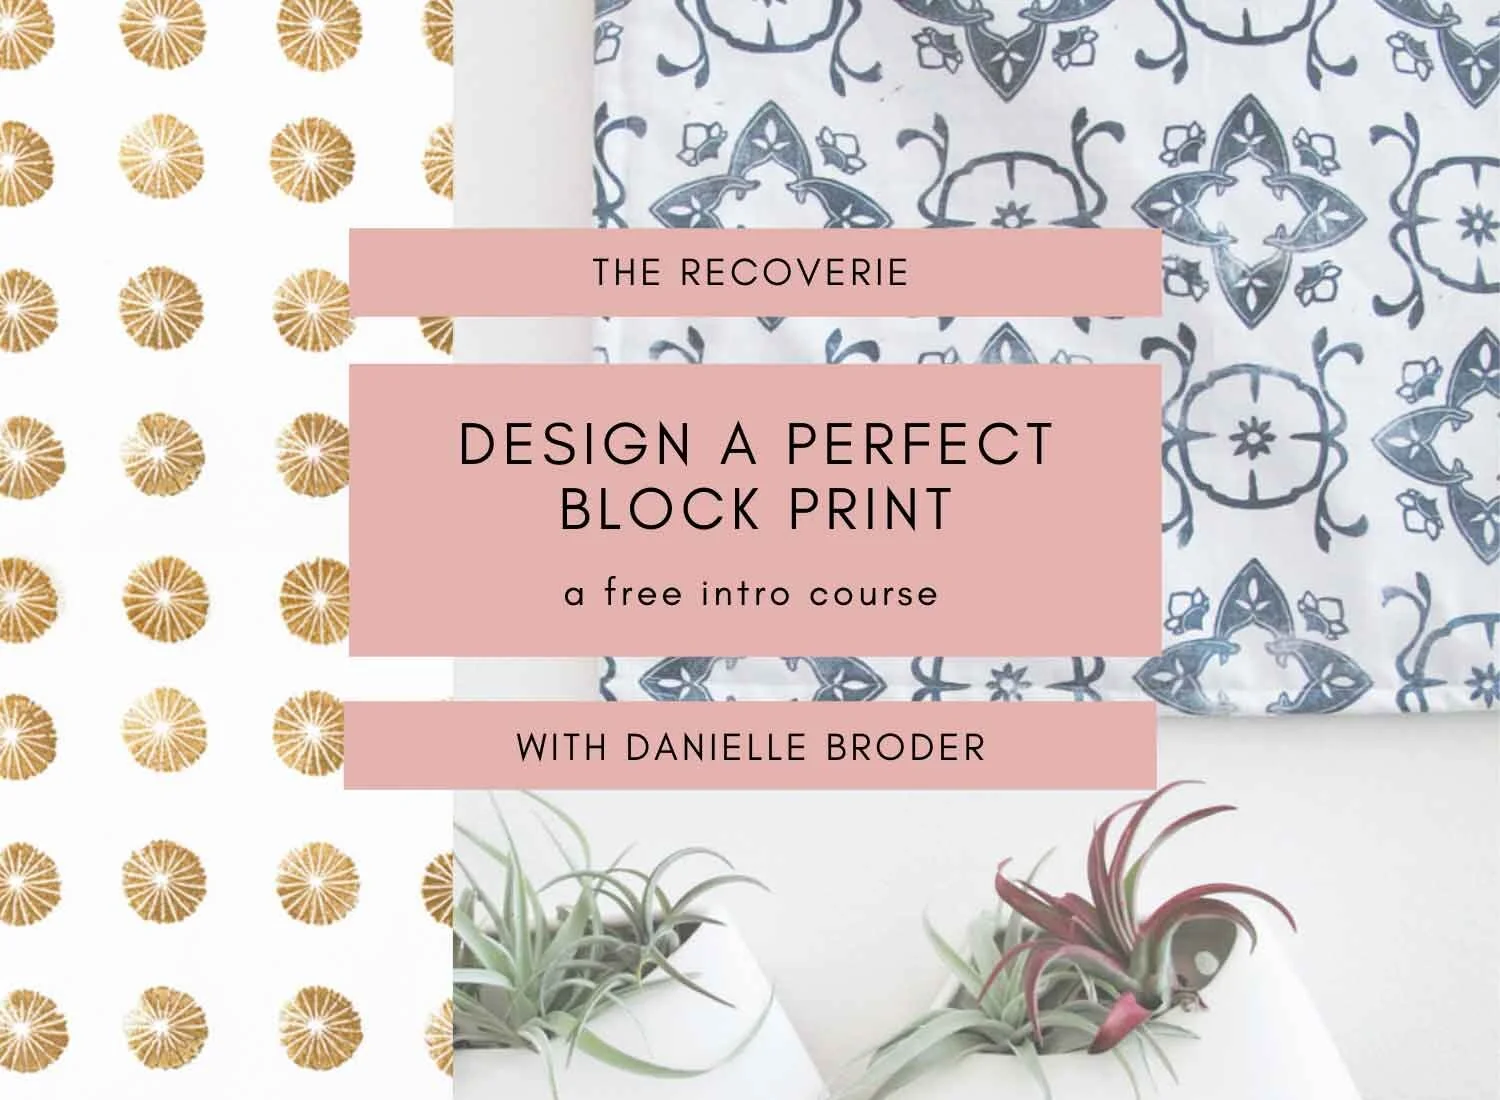
In fact, I’ve even got a 4-day email course called “Design a Perfect Block Print” that you can grab right now for FREE because I think it’s so important to have a little guidance at the beginning. No reason to quit before you even start, right?
Definitely get started with that today (you’ll get the first lesson immediately!) but I’ll share a few extra design tips here while we’re on the topic.
Tip #1: Get in the zone.
Relax! Move to an inspiring space. Put on some fun music. Block out a chunk of time to doodle and start forming ideas. And above all, don’t put too much pressure on yourself.
A lot of times you’ll have to work through the not so good ideas before you eventually land on something you like. I do this every time I create.
Tip #2: Don’t start with a blank slate.
It’s SO HARD to try to start a new design if you’re just staring at a blank piece of paper (blank page syndrome anyone?).
Keep an inspiration library around for when you’re getting ready to design! This can be as simple as taking some photos and keeping them in a folder on your phone, or ripping pages from old magazines and making a dedicated place for them. My favorite way to do this is with Pinterest.
When you’re ready to design, just open it up and get inspired!
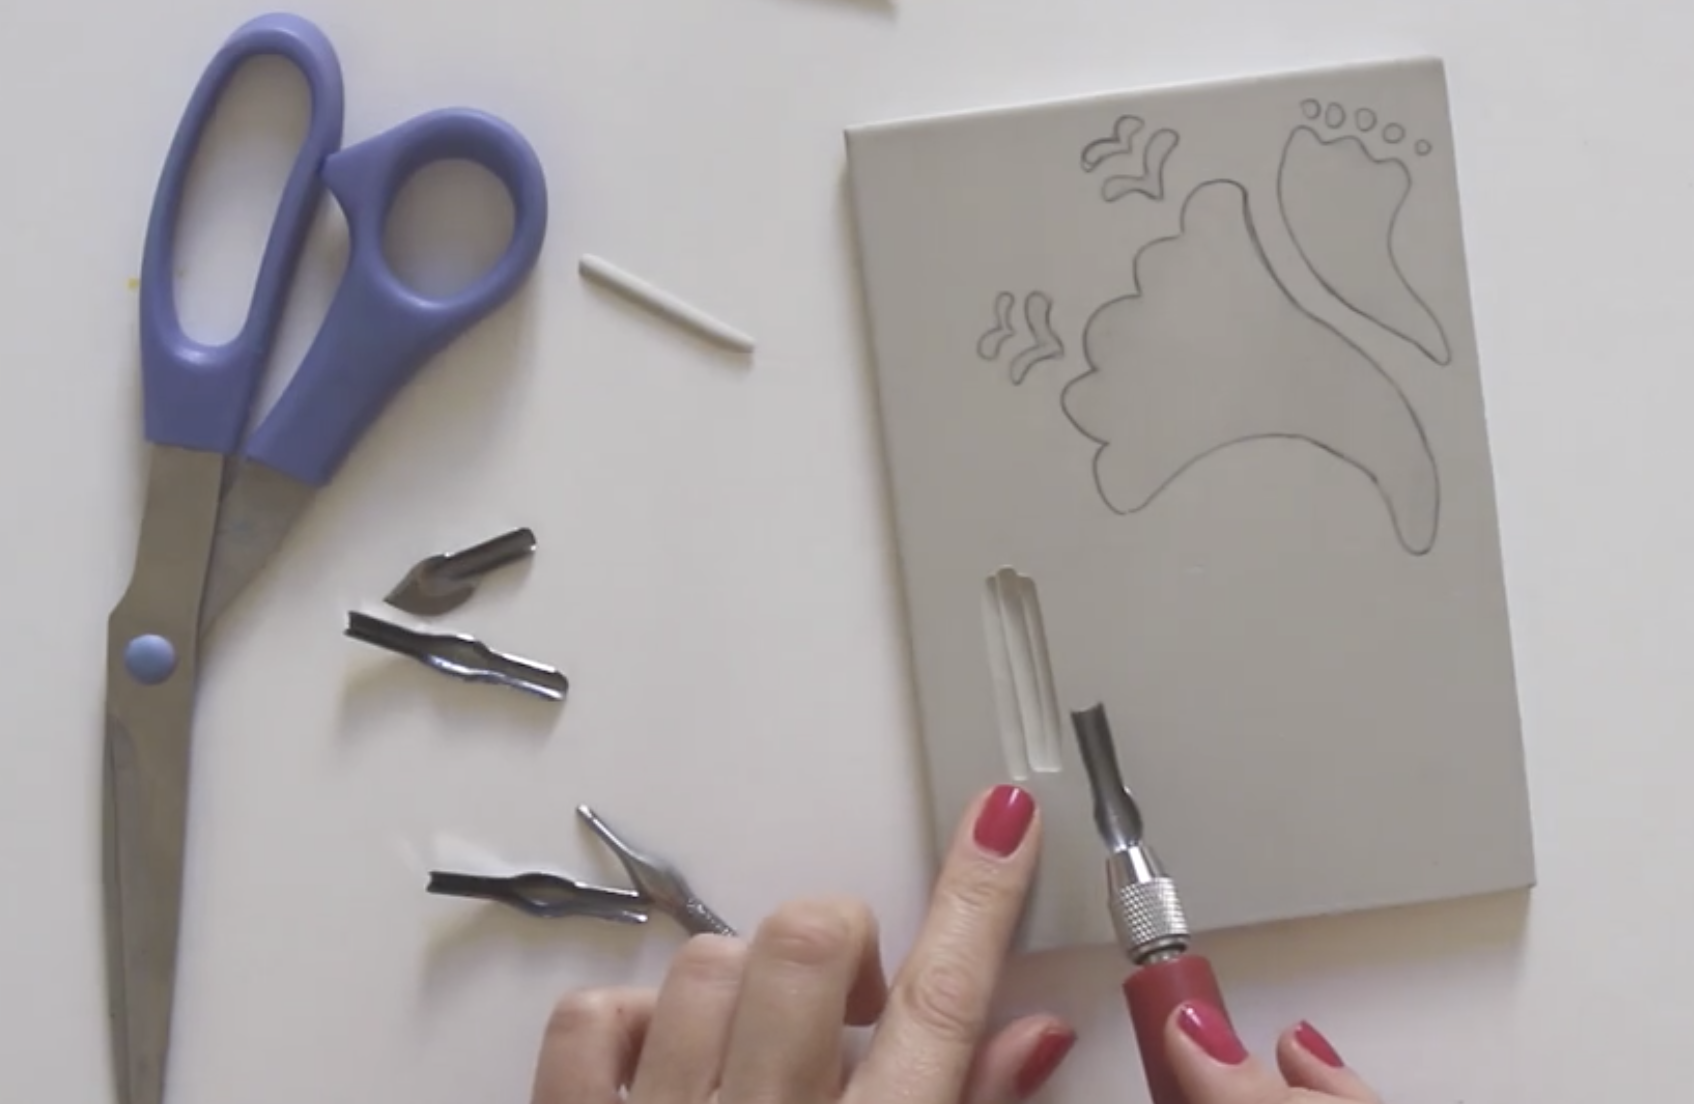
Tip #3: Design in terms of shapes, rather than lines
When you’re designing your carving block, it will help you a ton when you get to the carving part if you’ve set yourself up for success.
Instead of drawing a flower from lines, use shapes (ie: leave a thickness to the stem, close off the shapes of the petals, etc). Eventually you’ll be carving each piece out so you’ll need to know where to start and stop carving!
Block printing on paper
If the block printing project you want to create will be printed on paper (as opposed to fabric) then you’ll have to make a few decisions.
Block printing on paper can be really beautiful…but the specific process may vary depending on the style of prints you want to create.
The process that I teach my printmaking students is ideal for fabric printing, however, it can be modified for paper printing if you make a few small adjustments.
Ideally, if you want to print on paper you should be using oil-based block printing inks with linoleum blocks. In my experience this leaves the most beautiful finish with the least amount of issues.
There are some downfalls with using oil-based inks, and personally, I don’t think they’re worth the extra effort (which is why I only use water-based block printing inks now).
As far a selecting paper to print on, a nicer paper will REALLY make a difference in the finish and quality of your overall project. I love using paper with a slight watercolor paper type texture.
Look for something with a subtle texture that will show smaller lines and bumps, but not actually cause the design to be skewed because of it.
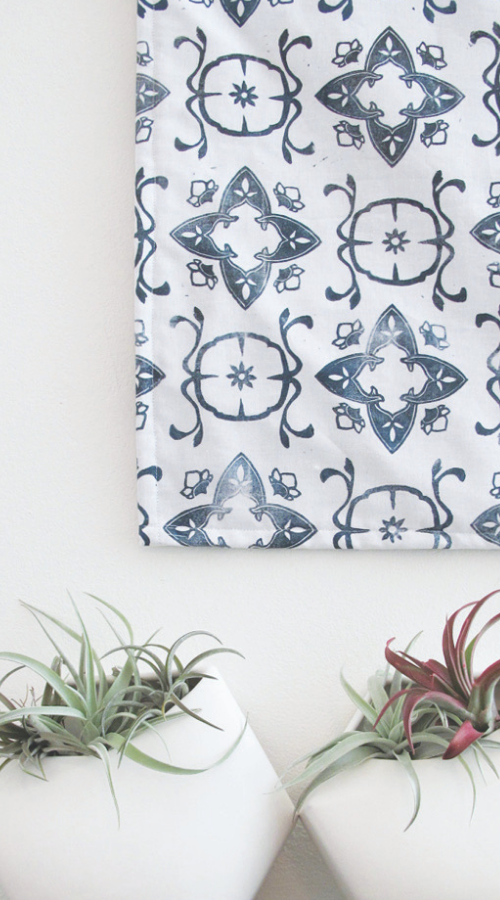
Once you’ve printed your paper you can frame your piece and create a unique piece of art for your wall. You can also gift it to someone as a housewarming or birthday gift.
You can block print plain rolls of Kraft paper and use it for gift wrapping, or print envelopes and cards for the holidays. There are endless projects you can do with block printing.
block printing on fabric
Now we’ve come to my favorite part, I’m going to share with you how to block print fabrics so that you can create unlimited projects!
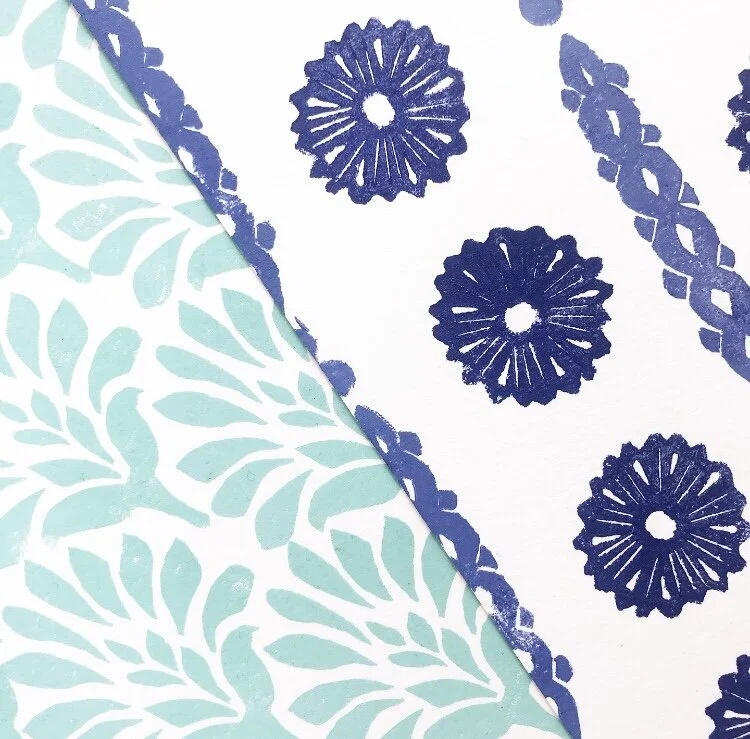
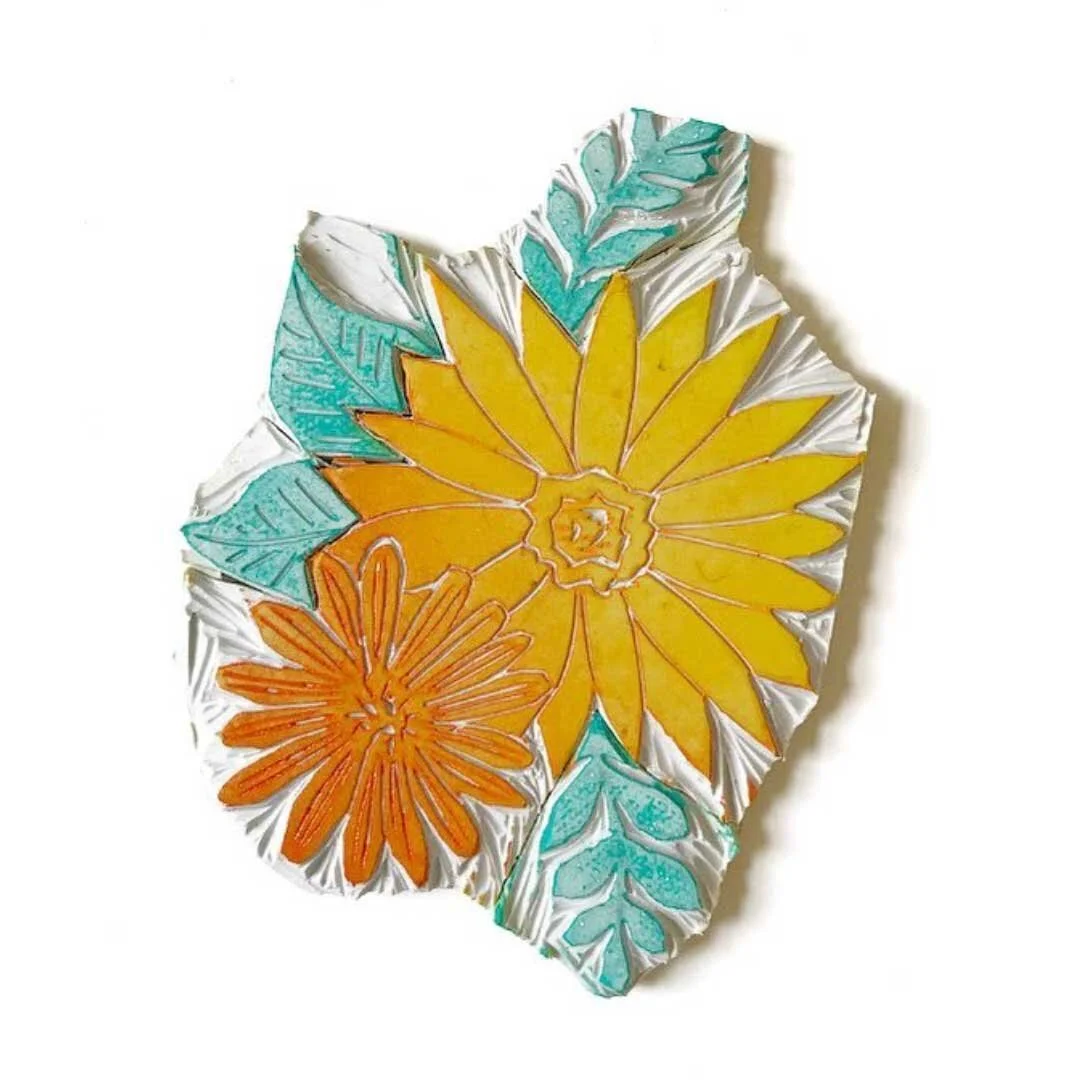
Printing on fabric is my absolute favorite way to create. There’s just something about the uneven textures, the blotchiness, and the unpredictability of it all that pulls me in.
Much of the beauty of this medium are the inconsistencies and little happy mistakes that your block prints will leave behind.
If you can control your neurosis for perfectly even prints as you’re printing and allow these little quirks to shine through, your fabrics will be much more charming in the end! (I promise.)
When it comes to block printing on fabric, you can use your finished printed fabrics for just about anything fabric related.
I like making pillow covers and tea towels for gifts, and little table runners for the holidays. Reusable fabric gift wrap is another fun idea.
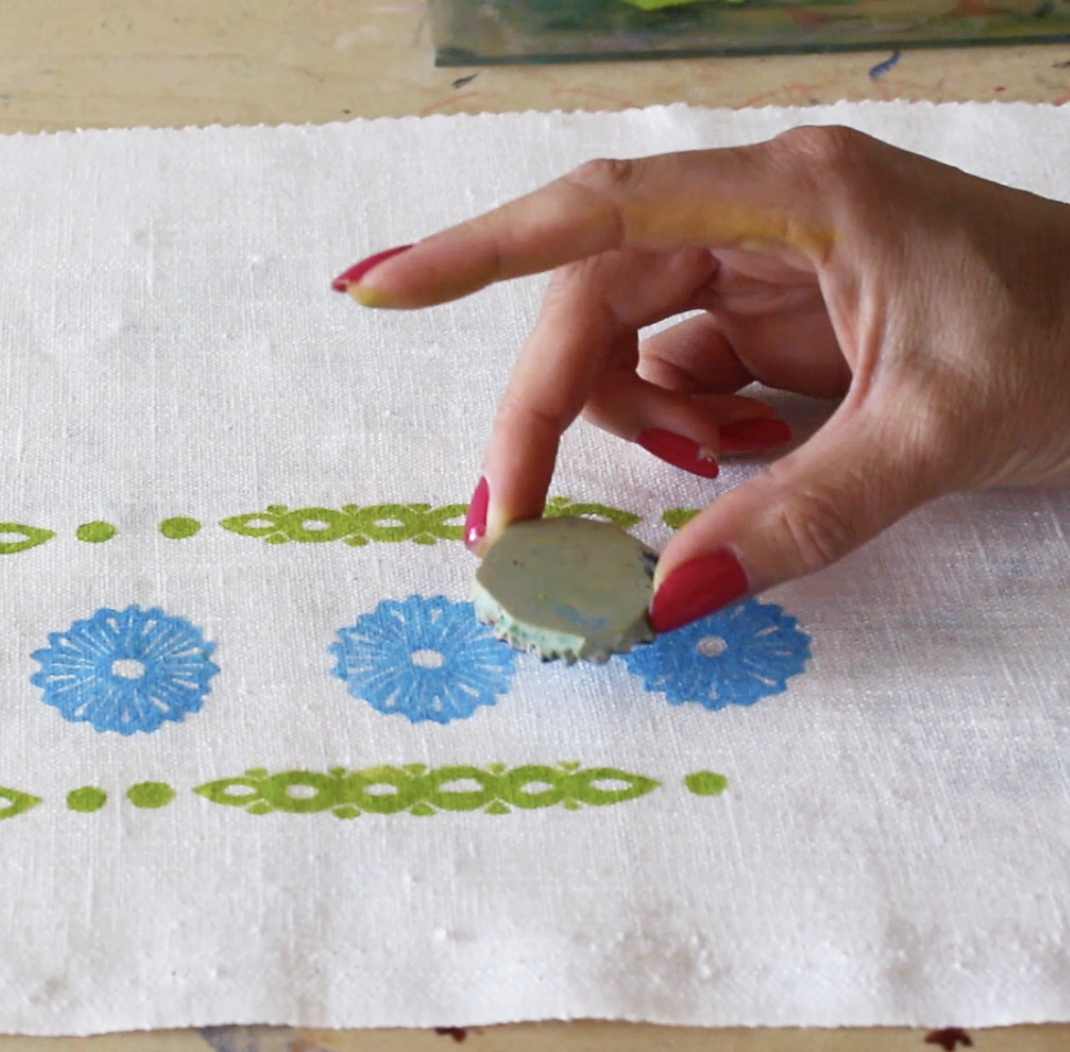
The process for printing on fabric is very similar to printing on paper, however in my opinion, block printing on fabric is much easier because you don’t have to worry about your block slipping and sliding across the paper.
When you print on fabric, the block immediately sticks the fabric and doesn’t move. You don’t need to worry about smudging your ink or your design moving.
The most important thing to know when it comes to block printing on fabric is knowing what fabrics to select. I’m going to get into that next.
Selecting fabrics for block printing
Picking the right fabrics for block printing will make a huge difference in the end result of your project!
Fabric stores can be overwhelming, and if you don’t know any textile basics, then you will definitely be struggling trying to figure out how to pick the best fabric for your printmaking project.
Things you need to consider before you select fabric include:
The purpose of your end product (upholstery, wall art, etc)
Will you need to wash it? If so, how often?
Will it be in a high traffic area?
Will it be getting a lot of wear? (people sitting on it, wearing it)
Will it be in direct sunlight? (fading)
Does it need to not wrinkle easily?
These are just a few things you need to think about, and I haven’t even got into the texture part of it yet!
I can get much more detailed on this topic, but if you want to learn more about what block printing patterns might look like on different fabrics, you should definitely read this post and watch the video inside.
You’ll see me actually print the same block onto a bunch of different types of fabrics to get very different results. I didn’t even know what to expect as I was doing it, so I’m sure you’ll learn a lot!
Carving Blocks
Whether you’re going to be printing on fabric or paper, you’ll still need one basic item to get started, and that is your carving block.
If you don’t know how to make a block print stamp, you’re in for a treat!
Block printing carving blocks come in a variety of different materials, densities, and colors, so I don’t blame you if you’ve been off doing your research and gotten a little confused.
In general, the type of block you want to use will vary depending on what you’re printing on, as well as the type of ink you’re using.
There are two main types of carving blocks you’ll find in your average art store, and those are soft rubber blocks and the more dense linoleum blocks (wood blocks are also very common but I won’t be going over those here since it’s a very different process.)
You can use either type of ink with either type of block, however I’ve used all these blocks and inks extensively and have found the perfect combination depending on what your project is.
You can read about this in much more detail in my most popular blog post right here which is all about blocks and inks.
You’ll hear about how I started out years ago using linoleum blocks, only to switch back to rubber for a few critical reasons.
These days I still only use rubber blocks when I block print and I’ve gotten pretty fast at it! I also use rubber blocks whenever I’m teaching a class.
Rubber blocks are soft, easy to carve, AND easy to come by, online or in stores. Linoleum blocks are also great for their own reasons, but for my purposes, rubber works better and faster.
You might even find a few different versions of linoleum blocks sold next to each other in the same art store. The main thing you’ll see are 2 similar blocks that have different backings.
You might see a thin linoleum block that is backed on particle board or MDF which is a hard, wood-like block. And you might see a similar thin linoleum block that is mounted onto a piece of canvas.
The linoleum is actually exactly the same, but they give you different options depending on how you like to print. For example, you might be using a printing press which means you would need the MDF backed block.
Anyways, there’s a ton more information in the post, I highly recommend reading that one next.

Block Printing Techniques
Once you know the basics of block printing, the blocks, the inks, the fabrics and papers, you can start learning to develop your own style within the medium.
You don’t need to stick to simple rows of prints, there are tons of block printing techniques you can try out and you can get as creative as you want!
One of my favorite ways to spice up my block printing is by layering prints. Layering produces a depth and a uniqueness that you just can’t get with a single layer of prints.
The blotchiness and white space of the layers also allow each layer to show through and play together well.
Another block printing technique you can try is playing with texture. Try printing with very little ink and see how you like the result. Then use more ink and see how the design changes. Experiment and find your own unique style.
These are just a few easy ways to play around with your printing style, but you can really try so many other other techniques to make it your own.
Block printing inks
So, what kind of inks are you supposed to use for block printing?
Well again, it kind of depends on what you’re making. In general, you’ll find two main kinds of ink in your average art store. Water-based, and oil-based.
But then it breaks down even further. There’s screenprinting ink and block printing ink. There are fabric inks and paper inks. On top of that there are all kinds of different brands selling a slightly different version of the same thing. It can become very confusing.
The good thing is that most of these inks are non-toxic. However double check your oil-based inks, they can be smelly and create fumes.
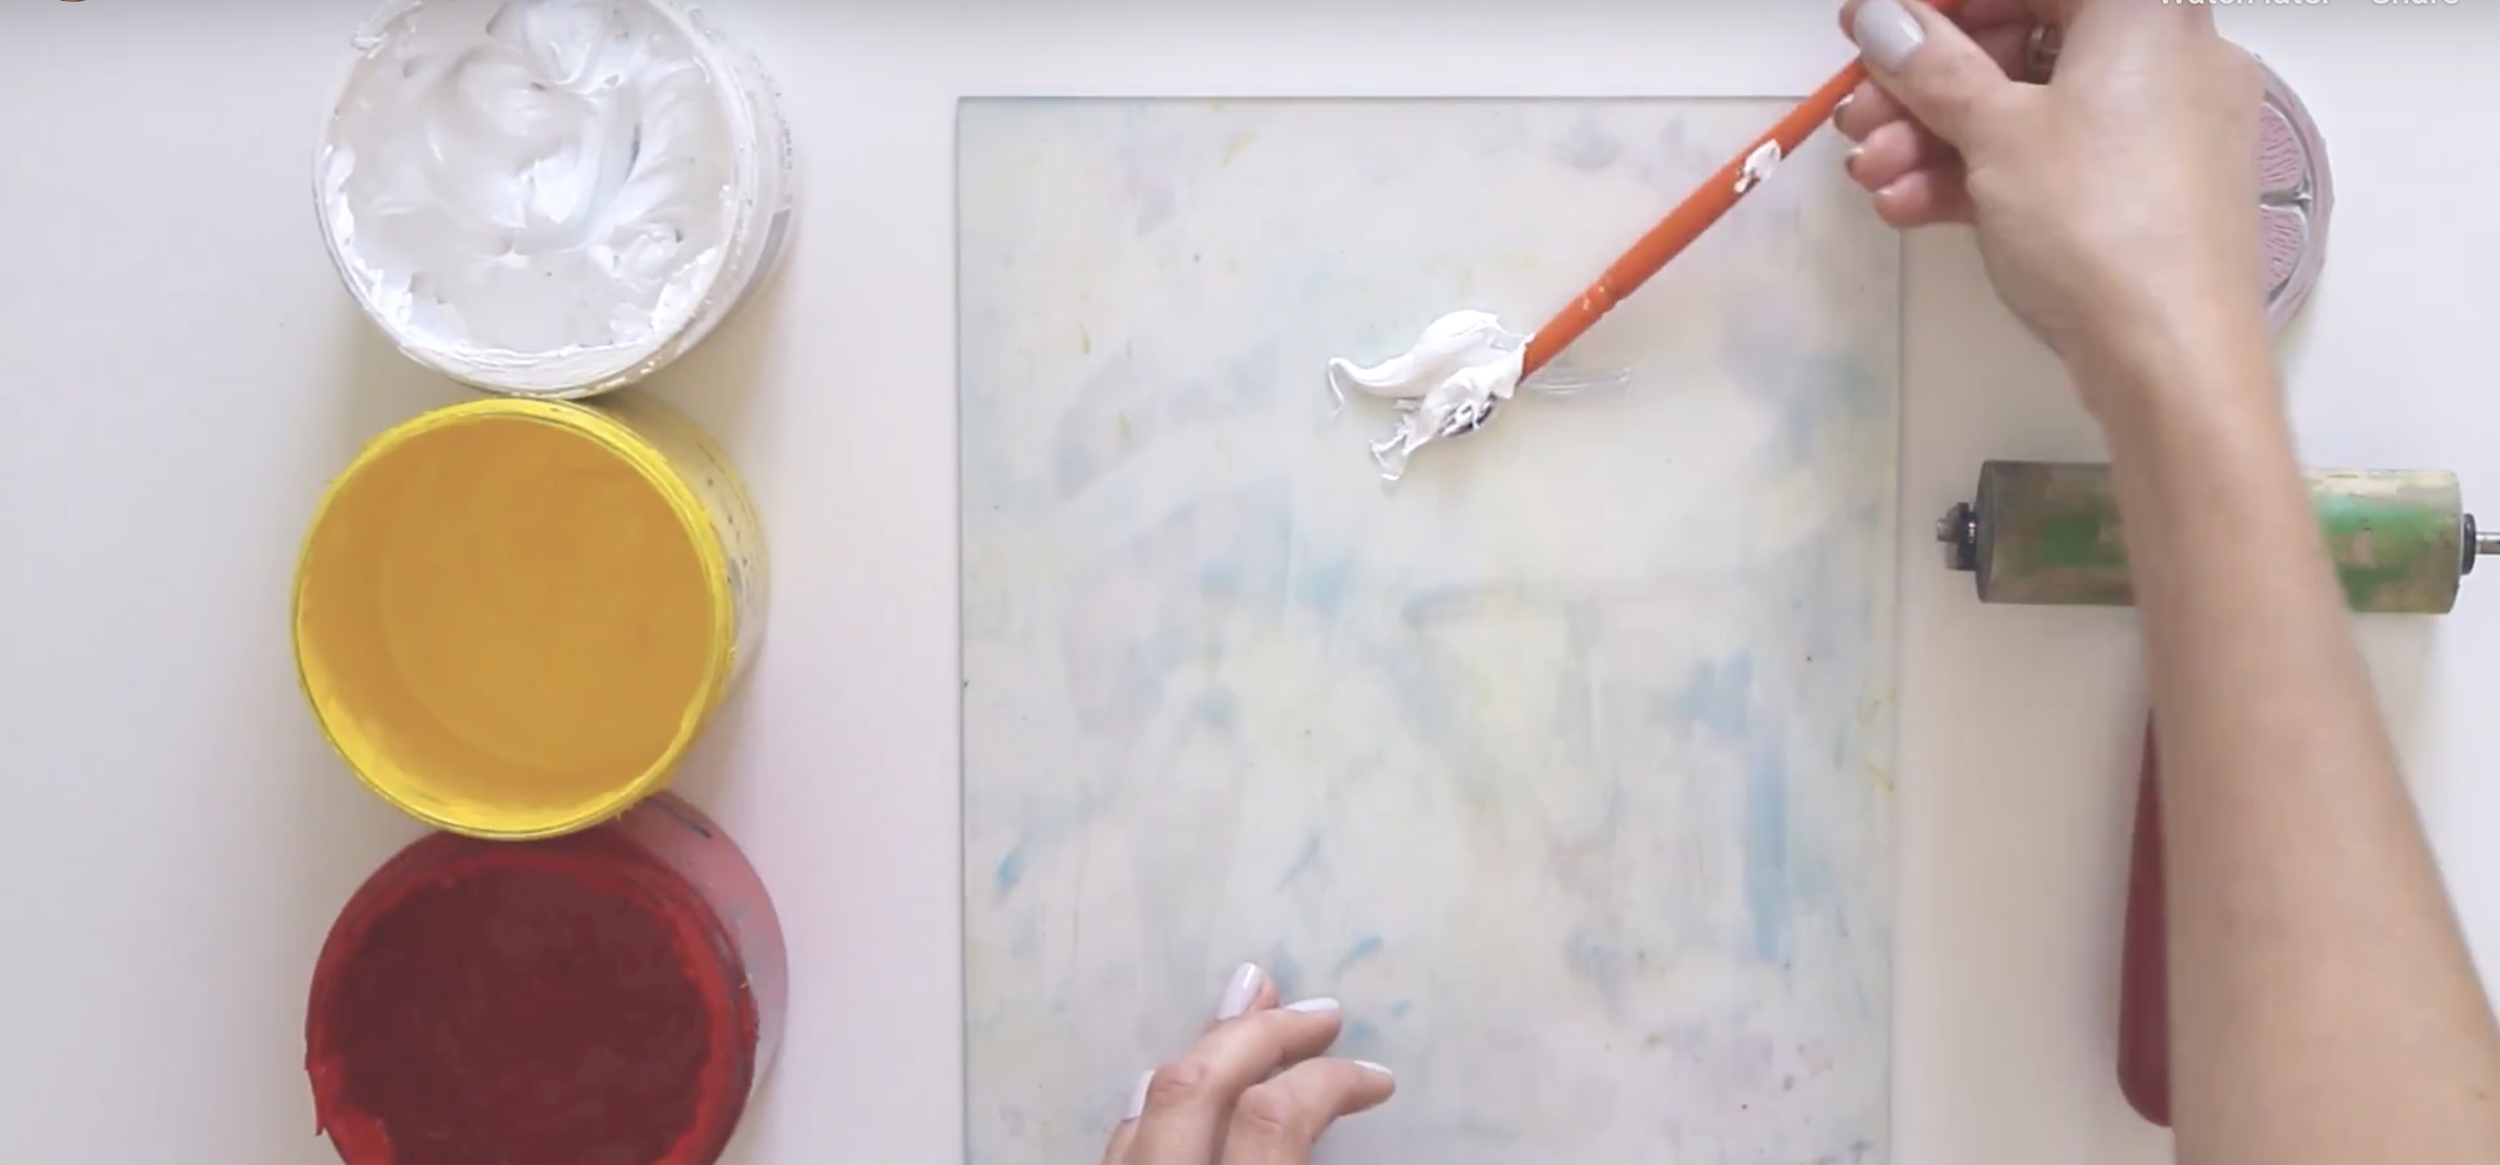
As far as the different brands of inks, I haven’t found too many bad ones. Your higher end brands will often be the best quality, so you get what you pay for in this scenario. More expensive inks usually will be made with more pigment, they’ll be thicker and more vibrant.
In general you’re going to want a nice thick and pigmented ink. If you’re printing on dark colors, you’ll also want to make sure your ink is opaque as well.
This blog post goes over different ink types in depth. You can also learn about the different blocks here too.
Setting your block printing projects
If you chose to block print on paper…good news, you’re done!
There’s no need to set anything, you just need to wait until your project is completely dry (aka not tacky to the touch). Water-based inks should dry VERY quickly (probably within a few hours, no problem).
If you used oil-based inks on paper, you will probably have to wait longer for the ink to completely set. The thicker your ink is, the longer it will take to set.
Put your prints in a safe space where they won’t be disturbed or jumped on by any small animals (the last thing you want is your cat covered in oil paint, trust).
If you block printed on fabric, your projects will take a little longer to dry before you’ll be able to set them. I like to set up a little mini clothesline inside and clothespin the very edges of my fabric to the string.
If your fabric is too big for that, find a flat place where you can lay out your project to dry, undisturbed.
Fabric projects that were printed with oil-based inks may take over a week to dry depending on how thick you printed your ink. Hopefully you’ve been following me long enough that you know when it comes to ink, less is always more!
In any case, just wait until your inks are dry and not tacky to the touch before you set them.
The actual setting process should be determined by the label of the ink you used. Oil-based projects do not need to be set after drying completely, you can toss them straight in the laundry like normal.
However, if you used water-based inks then you’ll need to follow the setting instructions that are printed on your ink label.
caring for your block printed fabrics
When it comes to caring for your fabrics, there’s not much to it. The better you treat them, the longer they will last and the more vibrant the colors will remain.
You can dry clean your fabrics like normal and/or hand wash them at home if you prefer.
I usually wash by hand using something gentle like Woolite, hang dry until damp, then finish it off in the dryer. Most pieces hold up well, although fading over time is normal.
You should be careful not to leave your printed fabrics in direct sunlight. Like any other fabric, they will fade and discolor much faster.
Learn to block print
Ready to jump in and start printing your own beautiful hand stamped block printed fabrics?
If you got through this long post and are now SUPER PUMPED and ready to make all the block printed things, then the first thing you’ll want to do is sign up for my free design course that will help you design a block print pattern you’ll love (even if you have no drawing experience).
Next, if you want someone to tell you exactly what you need to do and see all the possibilities of block printing right away, then you should head over to my course.
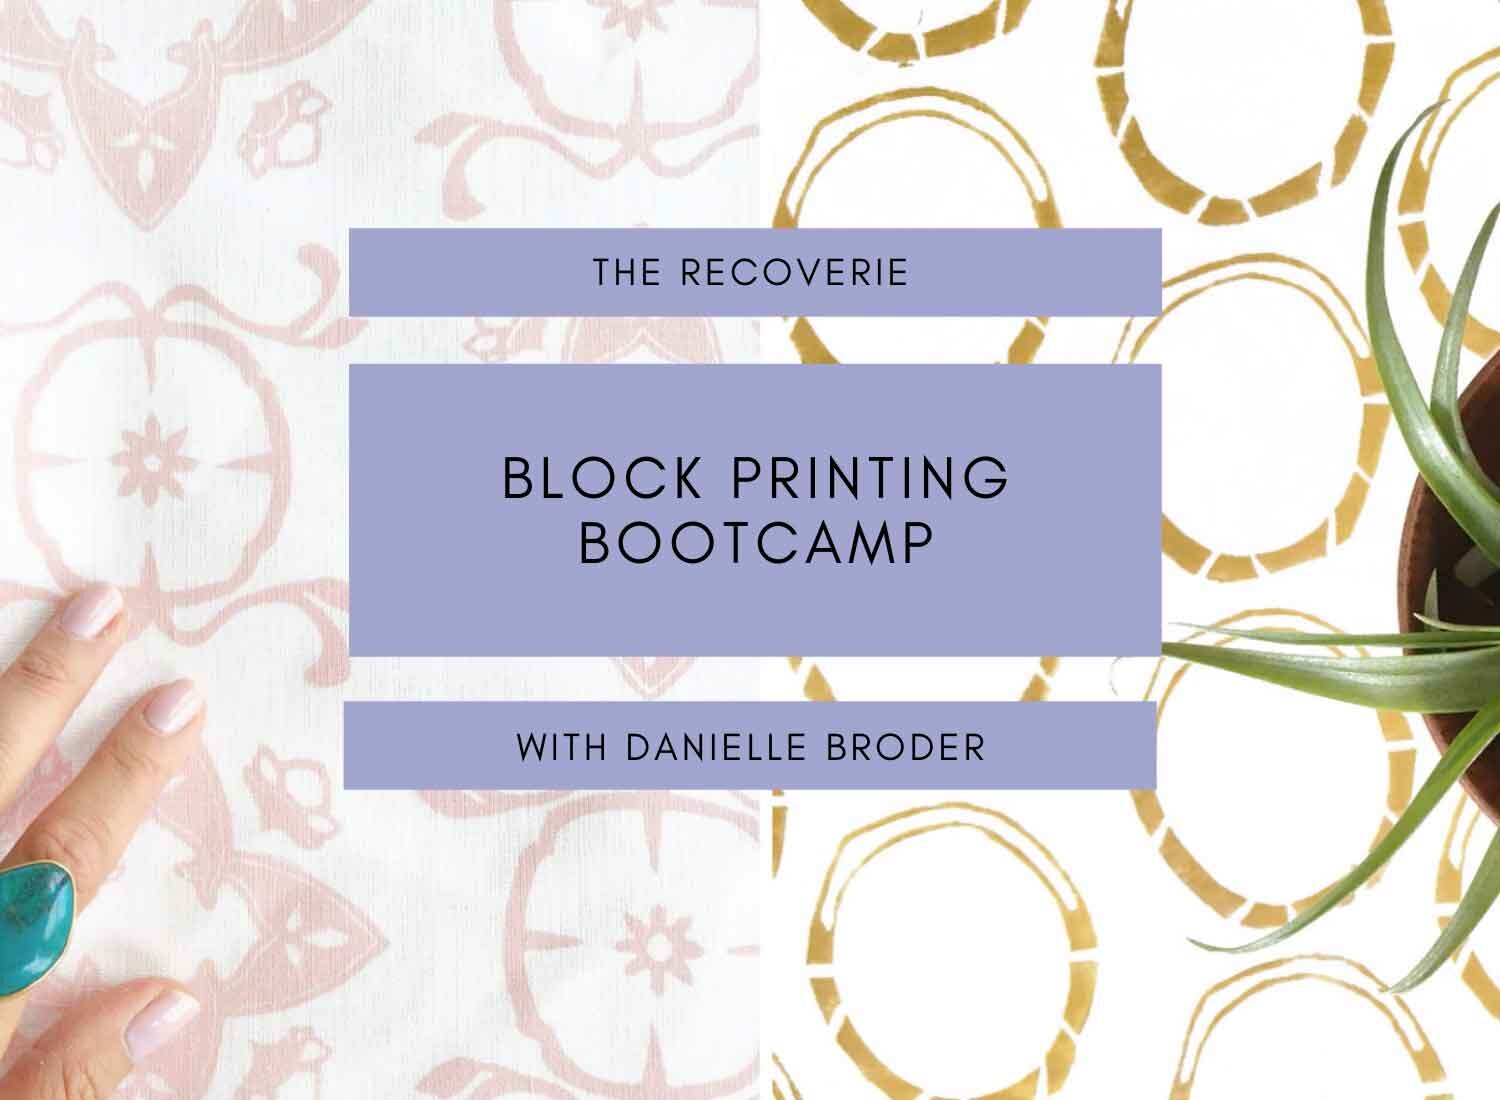
Block Printing Bootcamp is my online block printing course for complete beginners and experienced artists who want to design their own custom fabrics from scratch.
In the course, you’ll learn all my block printing techniques and secret tips that will allow you to skip past the learning curve and jump straight into the fun stuff!
No searching for supplies, I give you a full list of the few important tools you’ll need.
No trial and error necessary, just go through each video to learn new tips, tricks and techniques.
No getting stuck, you can reach out to me at any time with your questions.
You’ll get detailed videos explaining each part of the process, plus all my insider tips for when it comes to color mixing, layering, using multiple blocks, creating repeat patterns, and picking a color palette.
It’s jam packed with everything I’ve learned over a decade of block printing, teaching thousands of students, and hosting large scale workshops for some of the biggest companies in the bay area!

what kinds of block printing projects can you make?
I’ve helped my students print all kinds of projects! Here are some specific pieces I helped them with:
Wall prints & hangings
Wedding linens & invitations
T-shirts, scarves, & dresses
Concert posters
Indian sari’s
Upholstery, drapery & pillows
Baby blankets & onesies
Tote bags & aprons
Paper prints to sell on Etsy
Bed linens & quilting projects
However, the projects are truly endless.
Block printing really is such an amazing medium that can take you in so many creative directions. Whether you want to learn the skills so that you can make gifts for friends and family, or if you want to start selling your work, block printing is the perfect craft.
If you’re ready to learn more about the course you can check it out here.
Have you tried learning how to block print yet? Share your experience with me in the comments!
<<>>
