How to Design Custom Fabric at Home
Note: This post contains affiliate links for supplies that I have tested and recommend! Please use them if my research and writing inspire you to purchase supplies and make cute things. Thank you for supporting my small business!
<<>>
Do you ever go shopping and see a product with really awful fabric or upholstery and think, “I could do better than that”.
If so, then this post is for you :)
I’m going to be sharing about a bunch of different ways you can design your own custom fabric at home, whether it’s dyed, digitally printed, or hand-printed.
There are lots of options when you want to create fabric without having to actually go through a professional manufacturing process. In fact, that’s how I got started so many years ago and ended up in block printing.
I originally started hunting around online because I wanted to make my own fabrics quickly, affordably, and easily from home without having to go through a digital process or deal with big companies (this was before easily accessible companies like Spoonflower existed).
When I started searching around Google, I kept coming across different printing methods, but it took a while before I found something that resonated enough to stick with me.
Obviously, you can see that I ended up in block printing, but below are some other ways you can design your own fabric and prints from home without having to put down a significant deposit or jump through a ton of hoops.
But first…a few important questions!
When thinking about the custom printed fabric you want to design, there are a few things you’ll need to consider:
1) What will you be using the fabric for?
Clothing? Upholstery? Pillows? Wall decor? Your answer here will really make a huge difference on what type of fabric you’ll need to start out with.
For example, you’re going to need a much heavier weight fabric for upholstery than you will for a flowy scarf or skirt.
And the type of fabric you need will effect the type of fabric design options you’ll be able to use.
If you decide you want to natural dye a flowy scarf, you’ll have to make sure you choose a fabric that is not synthetic (many flowy fabrics are synthetic!) because the natural dye will not adhere to synthetic fabrics.
The next question to ask yourself is:
2) Do you just want to dye the fabric? Or do you just want to print on the fabric with your own designs or patterns?
If you only want to color or dye the fabric, you have a few options:
1. Natural Dyeing
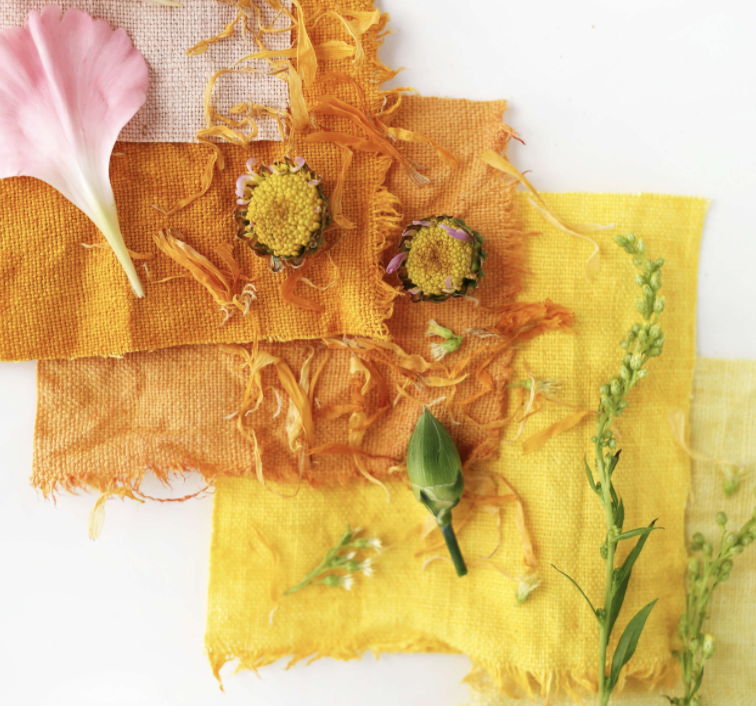
via A Beautiful Mess
You can use fruits, vegetables, flowers, and other natural elements to create gorgeous, natural colors for dyeing. And the bonus? Everything is eco-friendly.
This method can be somewhat unpredictable as far as getting an accurate color, and for some colors you might need to collect quite a few veggie scraps to get the shade you want, but it’s a fun process.
You can definitely natural dye from home, but you’ll need to use natural fabrics and you’ll also need to purchase a mordant or something to fix the color permanently into the fabric (don’t forget the rubber gloves!).
2. Store bought dye
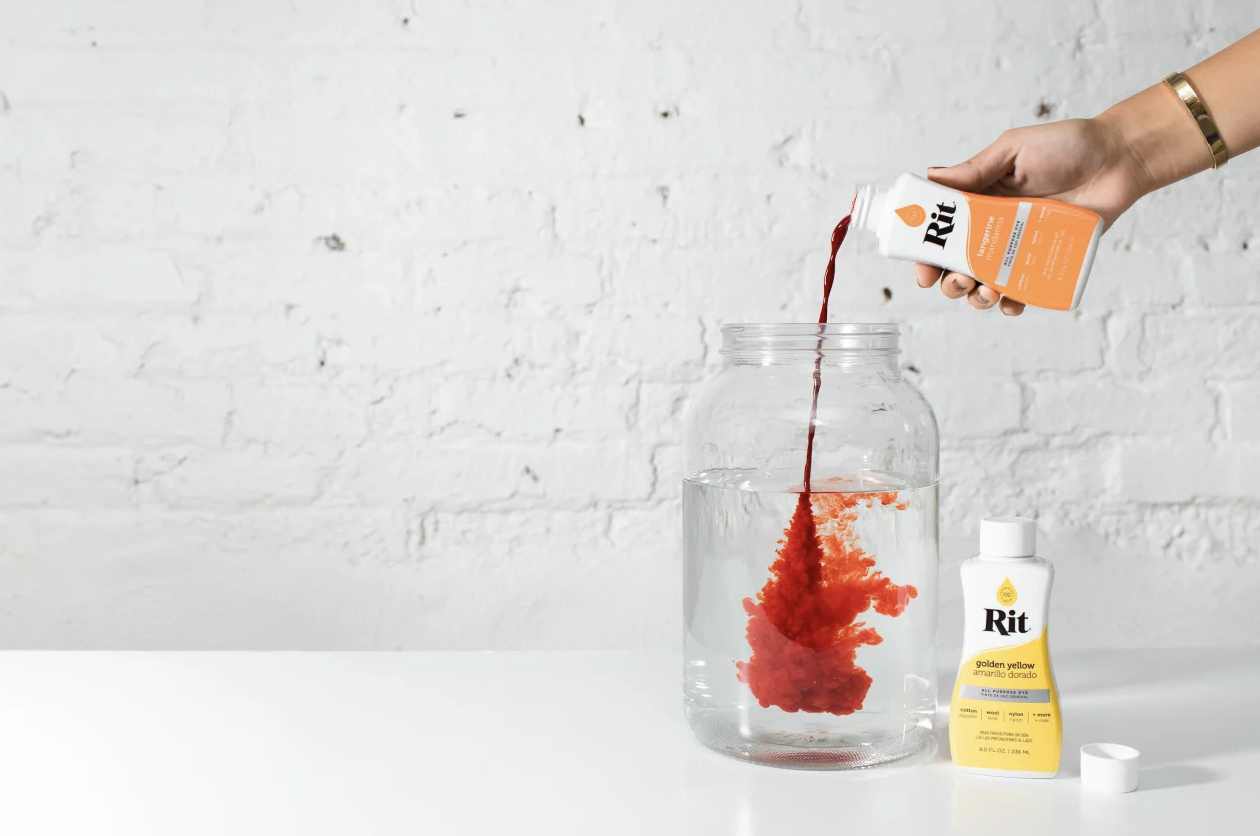
via RIT
Make things a little easier on yourself and go the store-bought route with pre-mixed dyes like Rit which comes in either a liquid form or a powder form. These are super easy to use at home, you’ll just need some big bowls or a pot to soak your fabric in.
With this method, you can use the color straight from the bottle or mix a few together to create your own custom dye color. They also carry fixative and everything you need to clean your fabric before you dye it.
A newer product they’ve introduced is a liquid dye, but for synthetic fabrics! This is awesome because a lot of dyes (especially natural dyes) can only be used on natural fabrics like cotton, linen, etc.
Normally you can’t use a blended fabric with even a little synthetic in it because the dye won’t soak in.
Rit is just one brand you can try, but they’ve been around since I was tie-dyeing my way through the 80’s and their website has a plethora of information and pretty colors to look at, so I’m biased. (But also the colors always came out bright and amazing!)
Other dyeing options you can try are shibori, tie-dye, reverse tie-dye, and batik, which also dye the fabric, but create various lines and textures as well.
Let’s explore.
3. Tie Dye
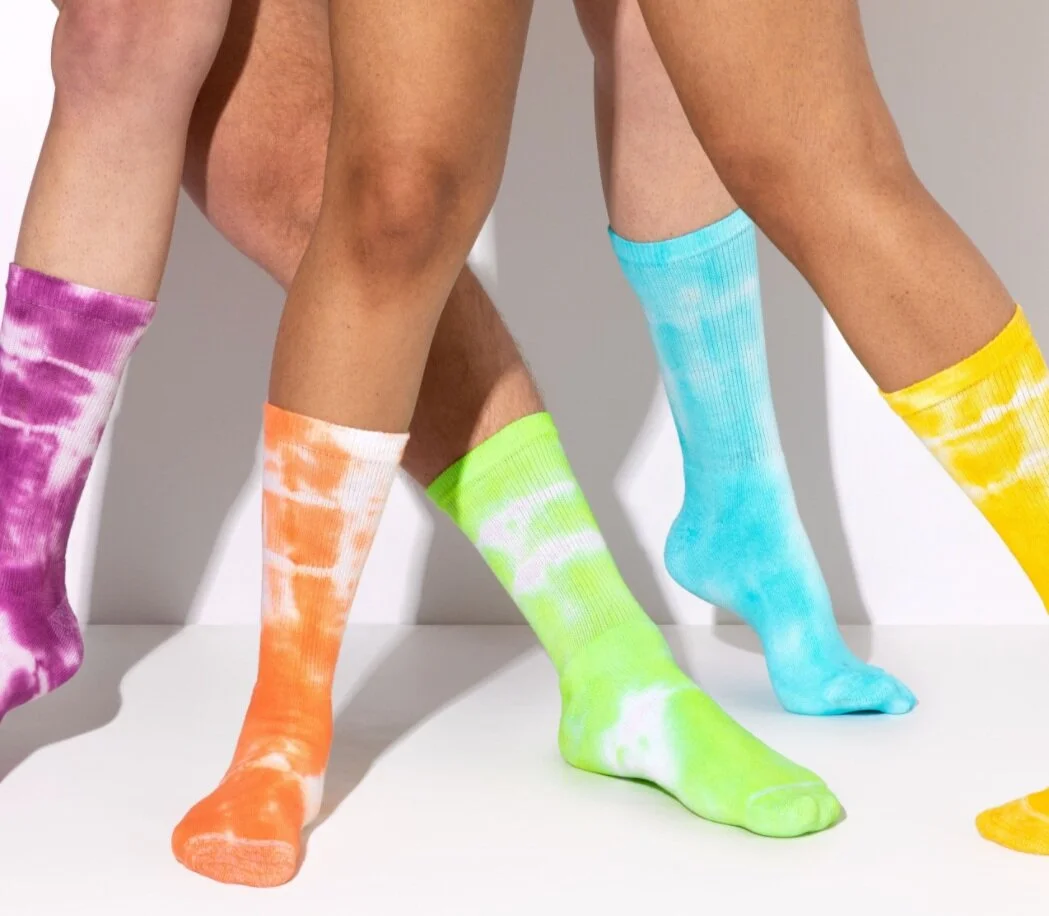
via RIT
I think you’re probably already familiar with this one. Especially you 60’s babies. Rit has a great tutorial on their website if you want to check it out.
There are a few methods of manipulating the fabric and using rubber bands, and each method creates a different type of tie-dye pattern, so your results will vary depending on how you tied it up.
You’ll need some fabric, rubber bands, and any kind of dye to start making tie-dye magic. Alternatively, if you’re too lazy to get together all the supplies, Jacquard makes a tie-dye kit with everything you’ll need to get started.
4. Shibori
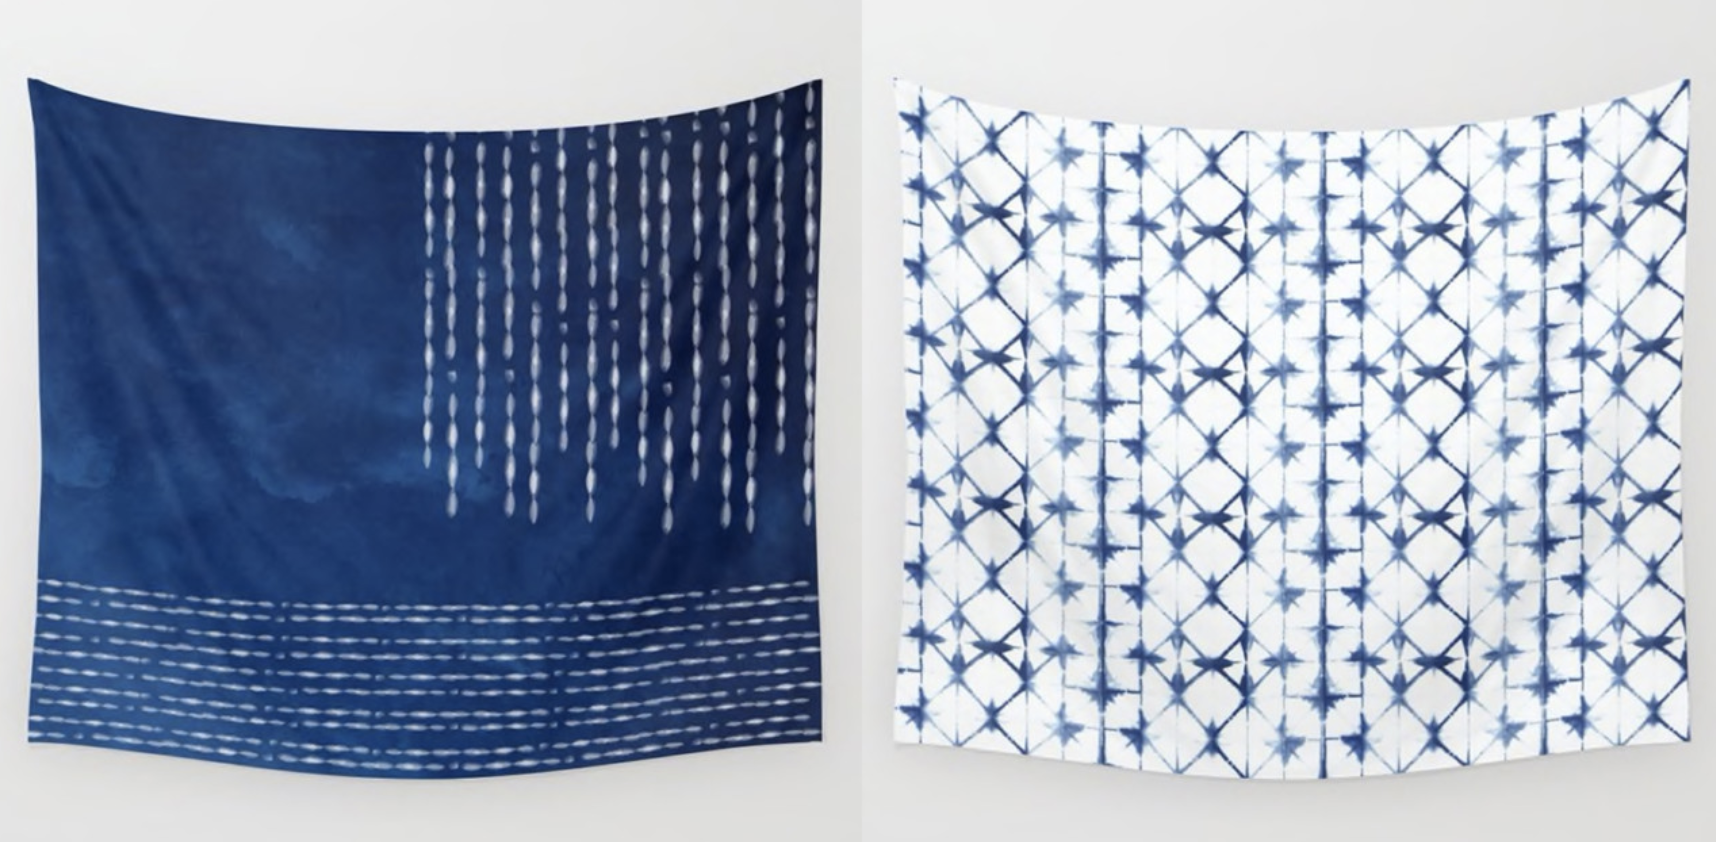
via Design Milk
Shibori is a dyeing technique that originated in Japan. It involves twisting, clamping, folding, and tying the fabric (similar to tie-dye) except instead of using bright psychedelic colors, it’s dyed with real Indigo…which is a plant if you were unaware.
You can buy Shibori dye kits around the web if you do a quick search. This is fairly simple to do at home as long as you have a big pot you can use and some kitchen tongs you don’t mind getting turned blue.
I recommend doing this outside with a clothesline if you have the option. It’s also fun to watch the dye oxidize in the sun (it looks green until it oxidizes!)
5. Reverse Tie Dye
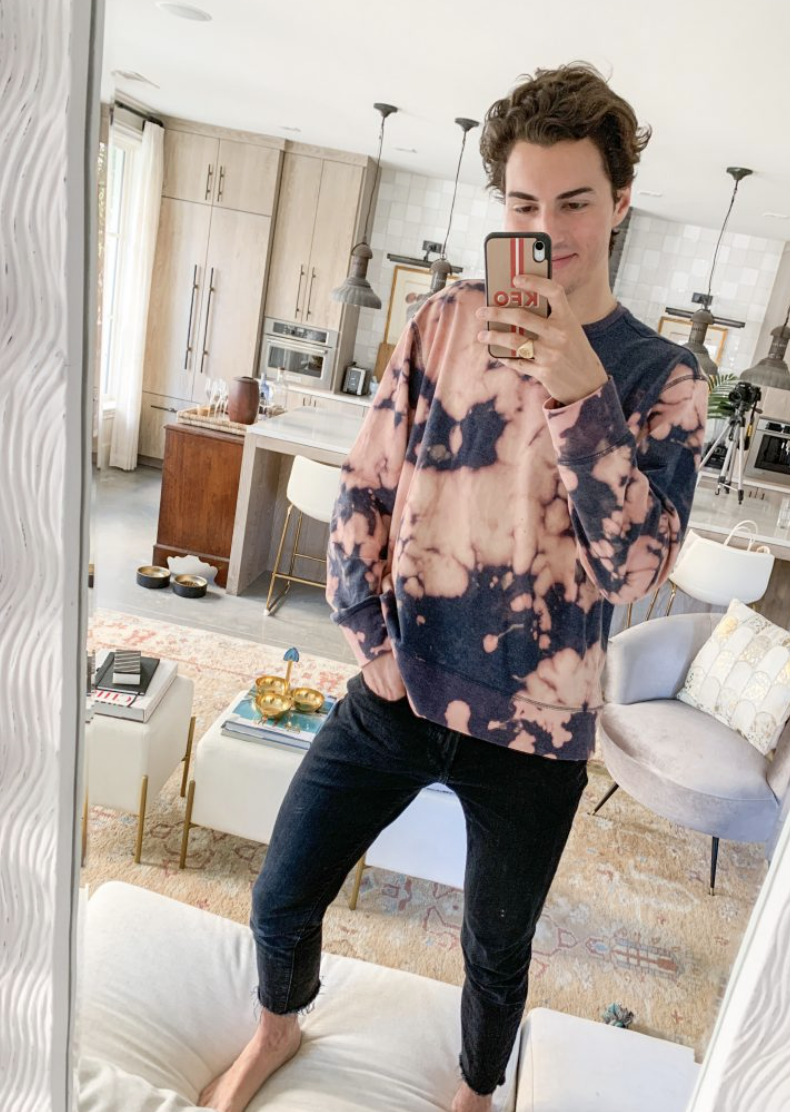
via Thou Swell
I’ve also heard this called bleach tie-dye, but it’s basically a new type of trendy tie-dye that has taken the blogging-sphere and influencer world by storm.
You start out with a colored shirt, sweatshirt, or fabric, then tie-dye like normal, but use bleach instead of dye. I’ve seen it most often used on black clothes, which leaves the bleached areas a soft brown or pink color.
When attempting this tie-dye process at home, also make sure you’re in a well-ventilated area or ideally outside.
6. Batik
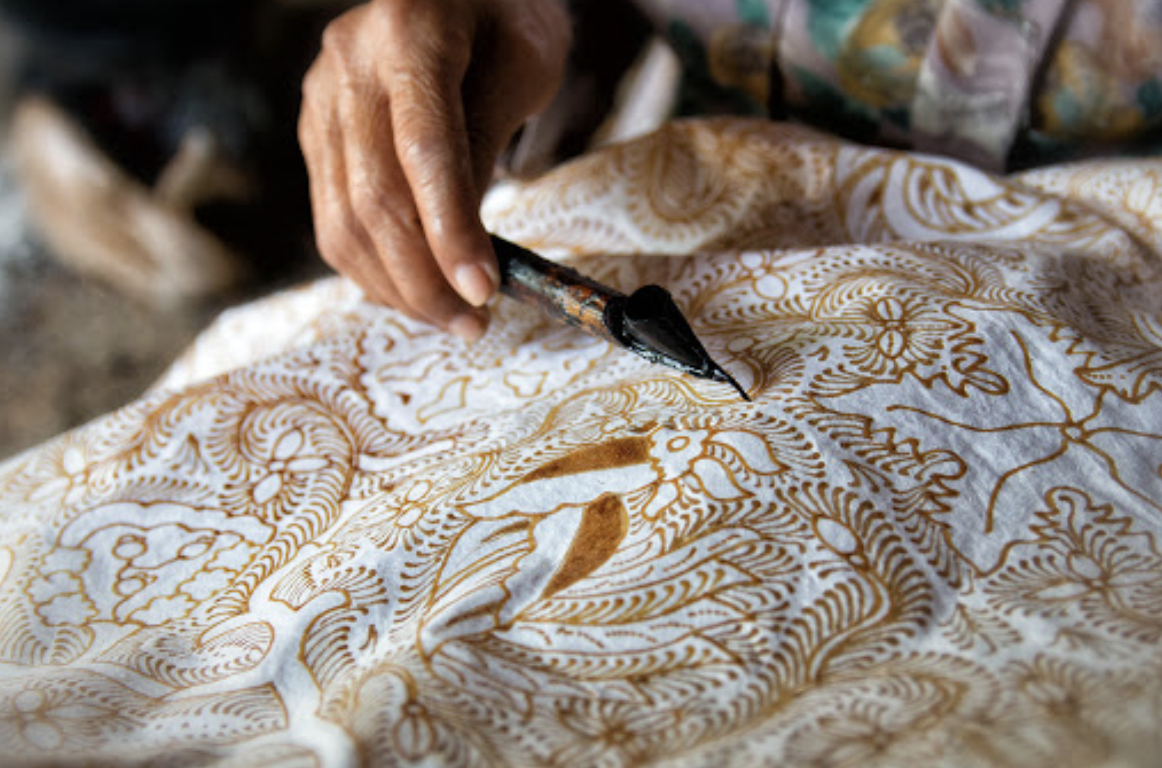
via TripCanvas
Batik is a resist printing technique that uses wax to create lines throughout the fabric. The wax is applied in lines or dots with a spouted tool called a canting or a funnel pen. Then the fabric is submerged in dye and washed in hot water which melts the wax away, leaving the patterns created by the wax.
The traditional designs are very ornate, but you can also keep it simple or create an abstract design. This is the only fabric process I have yet to try from this list, so I’m not 100% sure how simple this is to do from home, but where there’s a will, there’s a way as they say.
So…those are a handful of ways you can design your own custom printed fabrics at home using various dye related techniques.
Now…if you want printed fabric, you also have a few options:
You can go digital, or you can go handmade. First, let’s take a look at digital printing.
1. Digital Printing
via Spoonflower
If you want to tap into your inner graphic design wizard, then your best bet is to design a custom print yourself in Photoshop or similar, and then send it to an online printing company like Spoonflower to get it digitally printed.
These type of companies let you upload your digital design and you can have it printed on a variety of different fabrics, depending on what you’re using it for. You can even order a fabric sample and have it hemmed.
Can’t draw? You can also upload a photo!
With Spoonflower, you’ll first have to upload your digital design correctly and make sure it fits their requirements. Then you’ll select the type of fabric you want it printed on, (prices vary) and soon your fabric will ship straight to your home.
2. Screenprinting
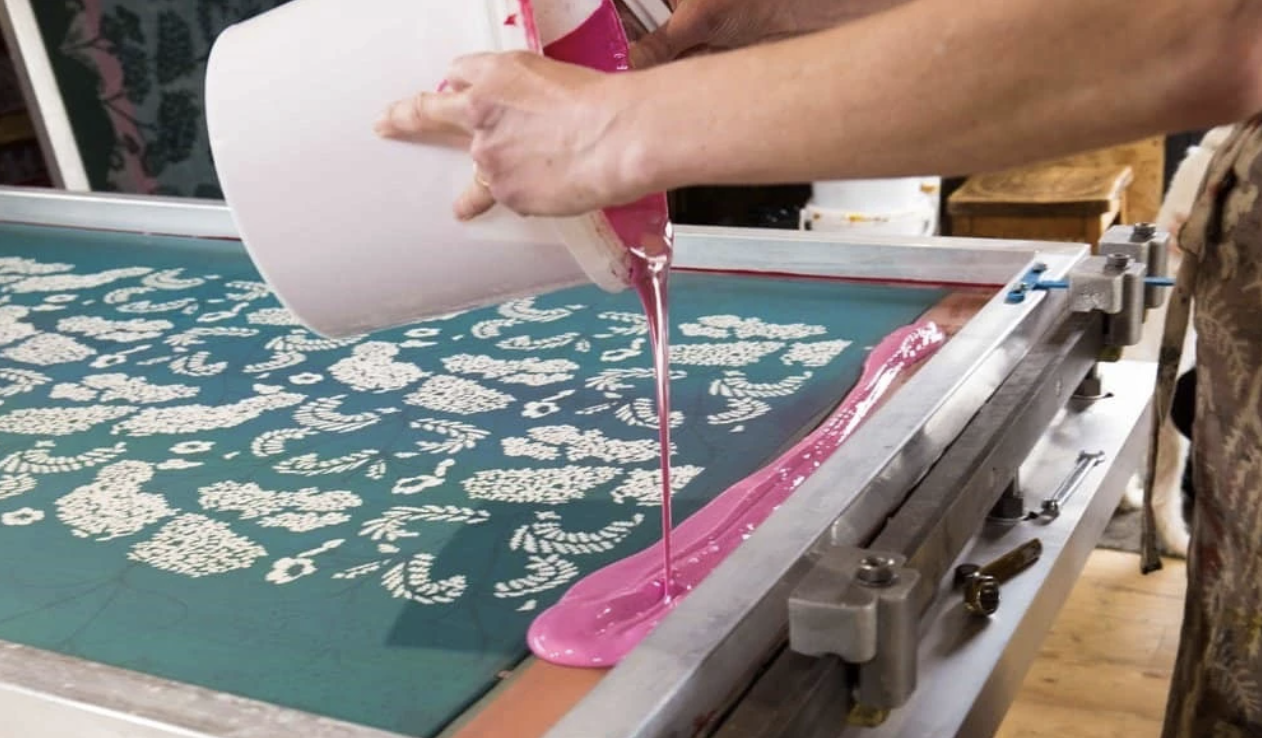
via Selvedge
Somehow screenprinting is still a bit of a mystery to me even though I basically worked in a screenprinting shop for 4 years a while back.
In this method, you’ll use a mesh screen and a squeegee to squeeze thin layers of ink onto your fabric. You can have a screen ‘burned’ with your design (pricey), or you can burn it yourself (sketchy and difficult from what I remember).
If you are trying to design your own printed fabric at home, this might not be the ideal printing process, but it definitely can be done. If you don’t mind paying for someone to burn your design onto a screen, then setting up a little printing station, give it a shot!
If this seems like too much work, you can always hire someone to screenprint your designs for you :).
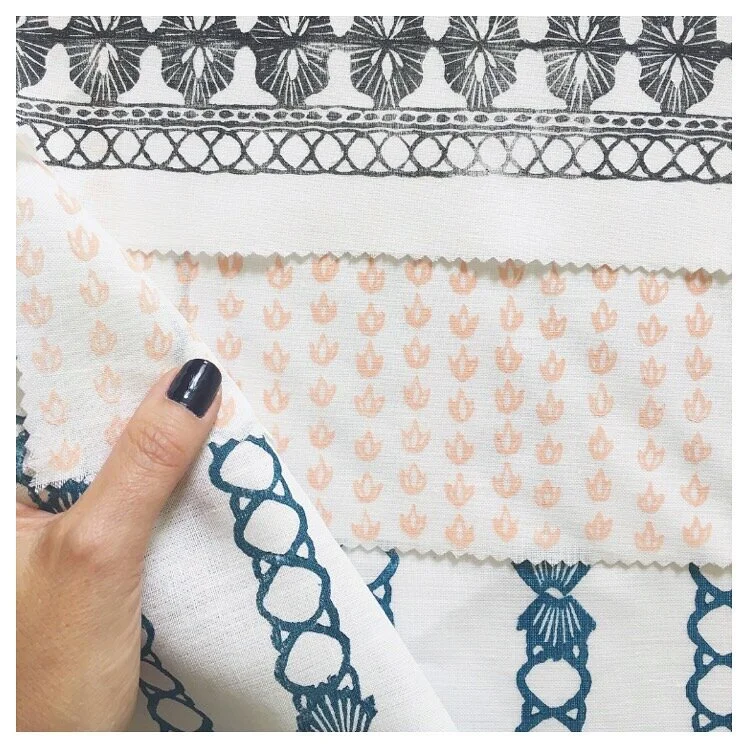
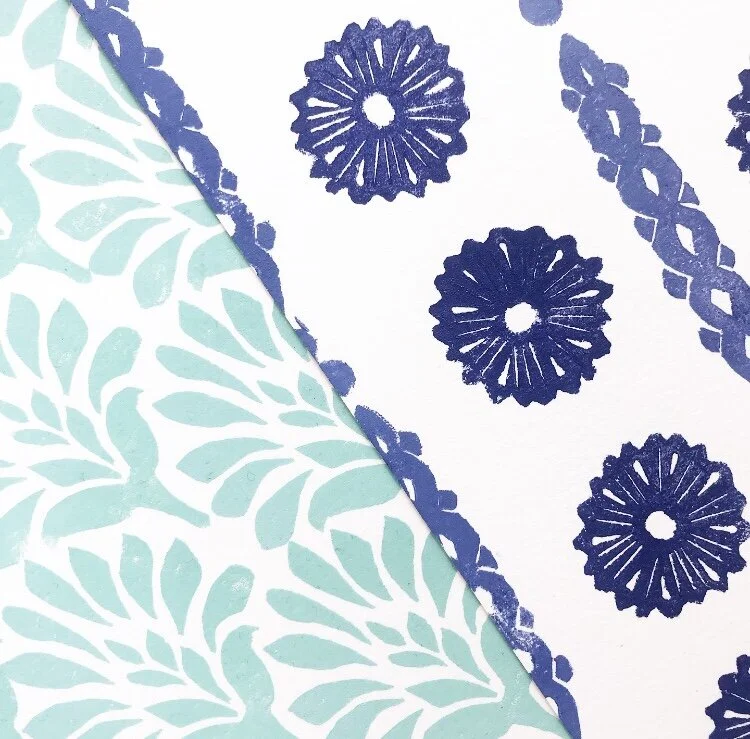
3. Block Printing
And last, but certainly not least, we have block printing.
Block printing is unique because you’re actually hand carving the design, bit by bit. It has a unique style that captures all the tiny and quirky ‘mistakes’ that naturally occur during the carving process.
Because of this, every print is truly unique which gives it major character. It’s also ideal if you want to create fabric at home because you need very little supplies.
All you’ll need to try this fabric printing process at home is:
a block
a brayer/roller
oil or water based inks
carving tools
and some plexiglass
If you want more details on exactly what you’ll need for block printing, make sure to check out my tools and inks blog here.
Now, when it’s time to come up with your actual pattern for block printing or screenprinting, it can be a little intimidating.
It can be hard to narrow down what design you want on your fabric, and you’ll want to be certain before you get out the ink and make it permanent.
You might be afraid you’ll make a terrible drawing if you already feel like you can barely put together a stick figure, but if you follow my simple 4-step design process, you’ll be able to follow the steps to quickly and easily design a pattern that you’ll love.
My personal design process usually involves pencil sketching while blasting music and wandering around the city.
I can come up with new fabric patterns fairly quickly these days, but it wasn’t always easy for me.
When I started my business I was making designs and selling them, but I never felt good about the art I made. I knew I wasn’t making my best work, and I felt like I hadn’t really found my design style yet.
A lot of the prints I was selling at the beginning were in a more modern style. I always felt like I had this constant pull between modern and a softer, more feminine style and I couldn’t really make up my mind.
Unfortunately, those are also total opposite aesthetic-wise, so for a very long time I hated everything I made. The good thing is, it didn’t stop me from continuing to make new patterns…until years later when I designed something I loved so much I knew I had hit it.
Since then my patterns have come a long way. I’ve streamlined my process that takes me from sketch to computer, then to block print, and my designs come much faster now.
If you keep practicing, you’ll get better and faster too.
I recommend sketching in pencil rather than designing digitally first, because it tends to stifle the imagination (in my experience). Try it both ways and see what you think though.
If you’re starting out designing your own patterns for the first time, then you might be a little unsure of your art skills.
I have a quick and easy way for you to get started with a step by step guide to help you get your idea from your head, onto paper.
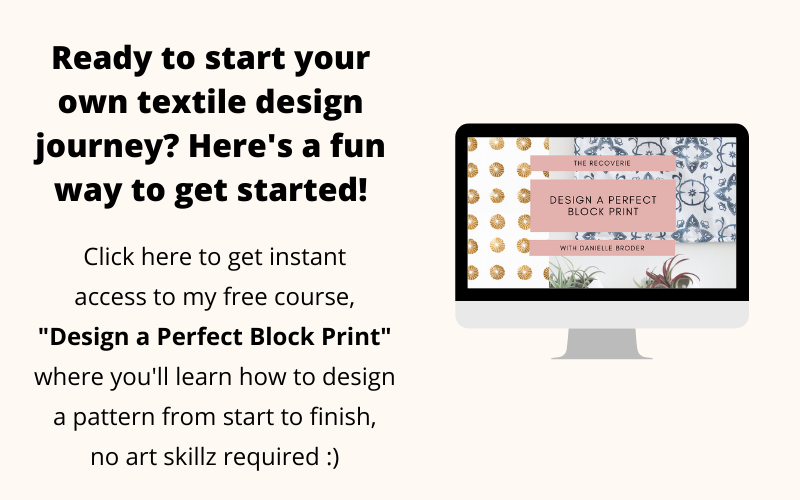
Sign up for my free Design a Perfect Block Print course and get ready to create your own custom patterns, so you can print fabric that you love from home!
<<>>

